Installing the plugin
After you purchased the premium plugin, you will see on the screen a link where you can download the plugin file (a zip-file). Please download the plugin onto your computer. You also receive the download link by email.
Note: On Mac sometimes the file gets unzipped automatically. In this case, either zip it again (rightclick on the folder and select “compress”) or prevent the automatic unpacking by your Mac, see here.
Next, please ensure that you don’t have the PLUS version of our plugin installed already on your site. If you do, please de-activate and delete it. It’s fine if you have the non-PLUS version installed.
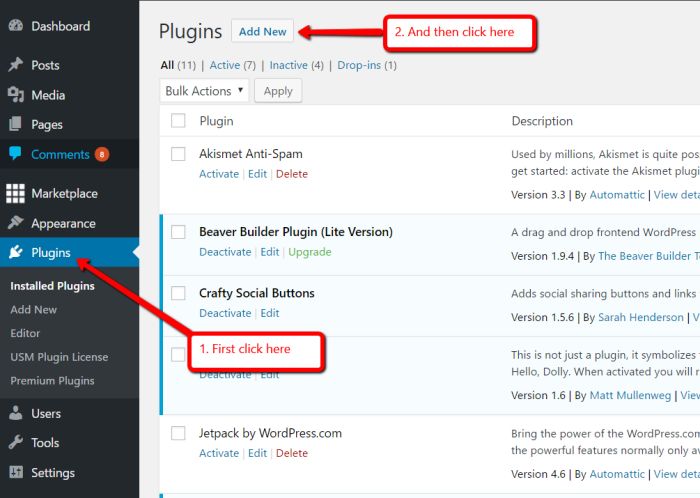
The next step is to upload the plugin to WordPress. Please login to your WordPress dashboard and go to your plugin area, and click on “Add New”:
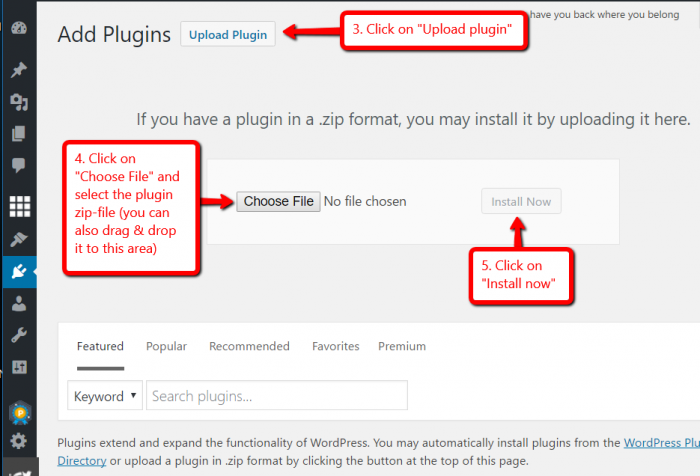
On the next screen, click on “Upload Plugin”, then click on “Choose file” and select the plugin zip-file you downloaded previously. After that, click on “Install Now”:
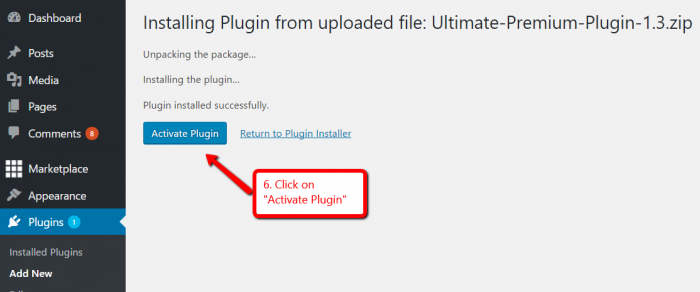
After the plugin got uploaded, a button will appear which says “Activate Plugin”. Please click on it (unless you’re a Multisite user – in that case please install the plugin on the parent site, don’t activate it, and only activate it on the child site where you want to use it):
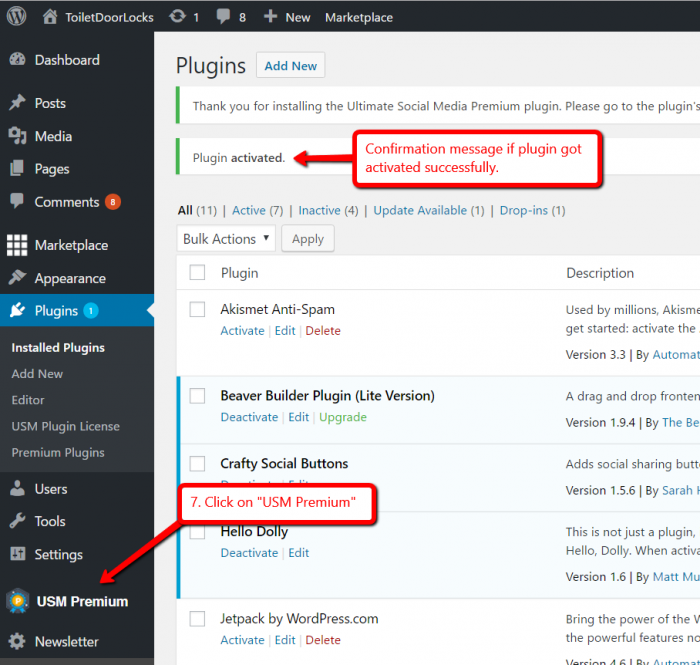
After the plugin got activated, you will see a new navigation button on the menu bar on the left. Please click on it:
You will be asked to enter the license key. Please enter the key which we sent to you by email and click on “Activate License”. Done 🙂
Troubleshooting:
If the plugin upload doesn’t work and you see a “Plugin installation failed” – message, your server may have low limits with respect to permitted upload times. You have the following options:
A)Please set the values in the php.ini file to 90 for “max_execution_time” and to 48MB for “post_max_size”. If you don’t know how to do it, please contact your server support / hosting company for that (we would do it ourselves for you, but cannot do it, it’s a server thing).
B)Upload the plugin via your WordPress dashboard using the “File Manager” plugin. Please check out this guide to see how to do it.
C) Upload the plugin via FTP. If you don’t know how to do this, either have a look at this guide http://www.wpbeginner.com/beginners-guide/how-to-use-ftp-to-upload-files-to-wordpress-for-beginners/ or we can do it for you also. Please provide us access to your WordPress dashboard, as well as FTP access (or access to cPanel).
If you see “The Link You Followed Has Expired” error when trying to install the plugin then this usually occurs because the plugin takes too long to install and the nonce expires. Please do a full page refresh (CTRL + F5) and try again. If that didn’t fix it, please upload the plugin via FTP.
Another well-known WordPress error that you might get while uploading the plugin is “Sorry, you are not allowed to access this page“. In most cases, this points to a file permission issue. Please see here step-by-step instructions on how to fix it.
If you get the error message “403 forbidden site” when trying to enter the license key then you probably have a WordPress.com site. In that case, please go to the “WP Admin”-section by clicking here…
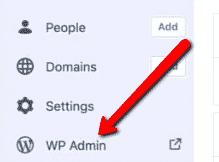
…and then try it there. Then it should work 🙂
If anything else doesn’t work with the installation of the premium plugin, please check the FAQ first. If you still need help, get in touch with us at biz (at) ultimatelysocial (dot) com – we’re happy to get it fixed! 🙂
